
Scanner test!
Last semester I took Digital Fabrication with Matt Hebert. I really enjoyed it so since then I have been working more in the Rhino program. I have always been very passionate about computer programs and now digital fabrication has finally come to me as a new set of skill. It's been very exciting since then as I now use digital rendering to my new metal/jewelry work.
The furniture program at my school, SDSU, offers Digital Fabrication class; they have CNC machine, 3D printer and a digital scanner. This semester I am taking an Independent class with Matt to continue this practice. I was curious about the scanner so Matt decided to show me to test it. Last semester I played with silicon; from flat sheets to casted forms I constructed solid and sheet silicon in my work. So I brought one of my casted silicon form that I made last time: placed it on the scanner's tray and let the red laser beam do the work.

(Right image) The black dots on the silicon surface are registration marks so when merging various images they help to match

This is an scanned image out of three others
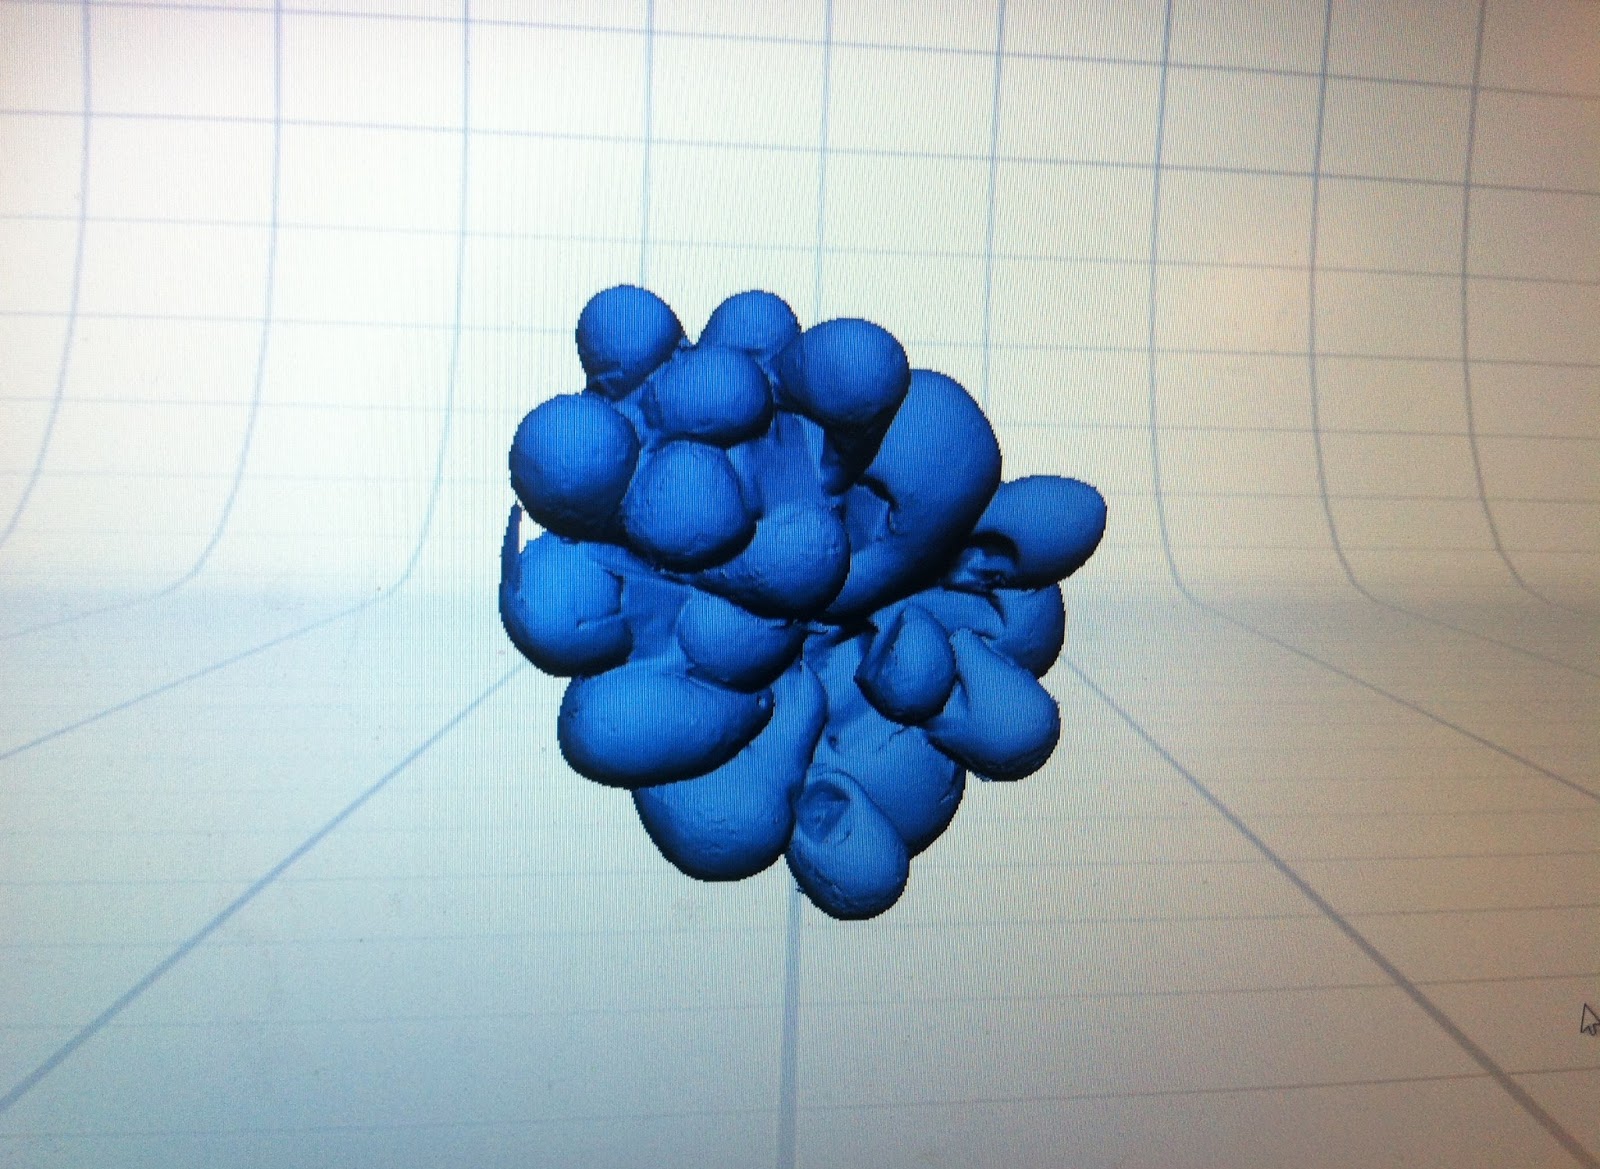
This is the final scanned image after merging three different images. However, you can control and scan more views for more detail. Since this was a first try to see how the scanner works we only scanned three views; each took about 20 mins to scan but I was told that it can take from 30 mins or more. It all depends on the object, as you can see this silicon is very small but you can scan large objects with this scanner. The class TA, Shane was actually scanning his face for fun but I wouldn't stare at the red laser beams!
No comments:
Post a Comment